Avoiding punch failure to boost performance and worker safety should always be a priority. Even though punches are made of hardened steel designed to withstand extreme pressures, they eventually will wear out.
But they shouldn’t break. When punches do break, it’s important to understand what happened and why. Manufacturing defects are very rarely the cause of punch failure. More often than not, setup issues or improper operation are the likely culprits when punches break.
Most punch failures fall into one of several categories:
- Chipping and galling
- Compressive failure
- Punch head failure
- Ringing
- Stripping failure
We’ll look at each issue in greater depth.
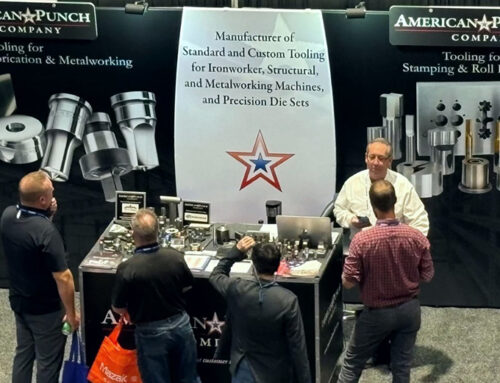
Chipping and Galling
When you experience punch face chipping or heavy galling on one area of the punch, it’s usually because the punch is allowed to drag, due to poor alignment between the punch and die.
Adjusting the alignment to allow equal clearance all the way around the punch will usually resolve this issue. Also make sure the punch stem and die block are clean and clear of debris that could create an uneven surface for tooling.
Compressive Failure
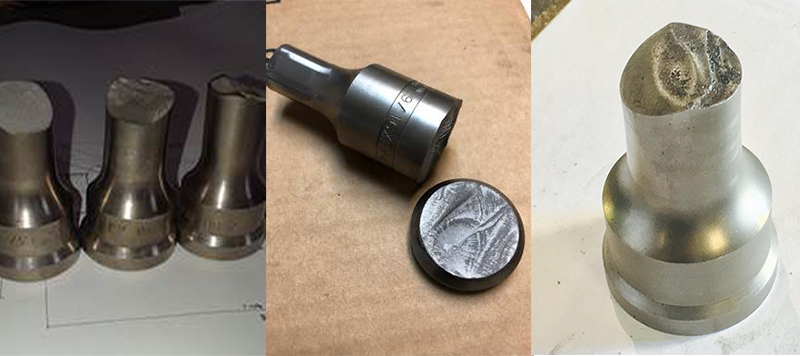
This failure occurs when the compressive strength of the punch is exceeded, and the entire working end of the punch shatters.
Total misalignment of the punch and die occasionally causes this failure, so you’ll want to make sure the punch and die are properly aligned. If alignment isn’t an issue, it’s likely that the material is too hard or thick for the punch. In these cases, you’ll want to use an “alpha” punch, which provides the necessary strength and durability to punch through the material.
Punch Head Failure
If the punch head fractures or breaks off, it’s usually due to one of two reasons:
- The coupling nut is worn or loose
- The punch stem is worn
Either of these issues will allow the punch to move during operation, creating uneven pressure on the punch. If the coupling nut is worn, the punch has space to move in multiple directions, which prevents proper load during operation. If the coupling nut is loose, the punch won’t seat properly seat against the stem in the machine.
Regular inspection of the coupling nut can help prevent this failure. Make sure the nut is tight and check the inside diameter to maintain proper specifications for your punch style.
Also, verify that the punch stem is smooth and flat and not worn in any area.
Ringing
Ringing occurs when the material being punched is deformed with each stroke of the press. This generally occurs when the material is thicker than the working length of the punch or the punch is entering into the die too far.
To avoid ringing, make sure you have the right size punch for the job. You can also adjust the stroke length to entire into the die a maximum of 1/16”.
Stripping Failure
The stripper on your ironworker plays an important role in keeping material in place during punching. If the stripper clearance is set too high, the material can move, causing the punch to bind and break. An angular fracture is a classic visual clue that stripping failure is an issue.
Adjusting the stripper closer to the material will help prevent this failure.
These are just the most common causes of punch failure, which can also put operators at risk of injury. Proper setup and operation will help avoid these issues, keeping your workers safe, extending tool life and often increasing throughput.
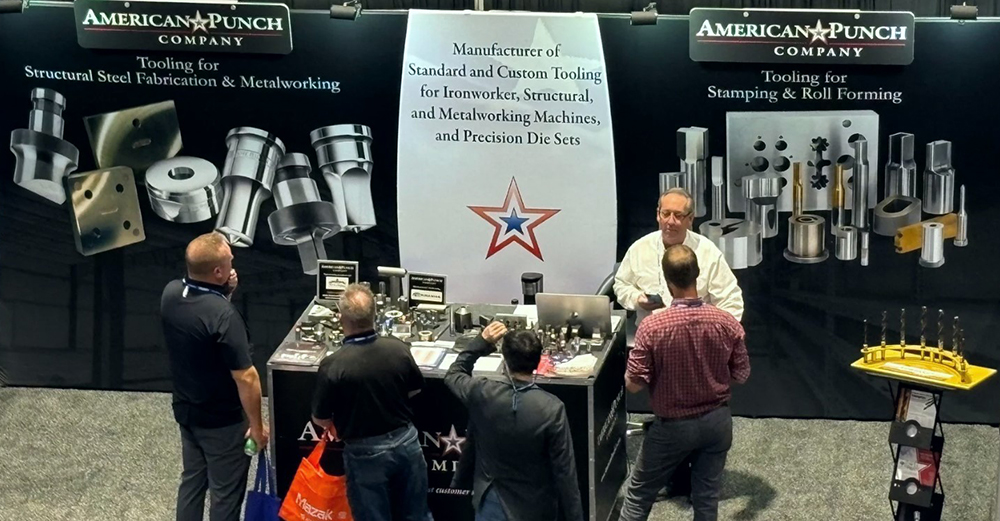
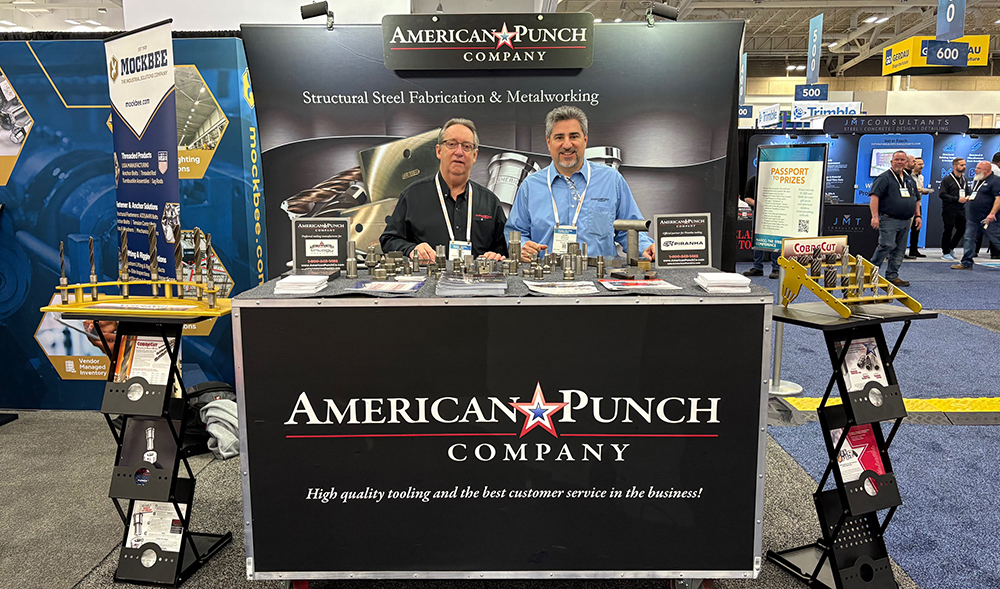
If you’re faced with punch failure, we’re here to help. Send us the broken tool and a sample of the material being punched, and we’ll provide recommendations to solve your issues. Call us today at 800.243.1492 or submit this simple form for assistance.

